Animated Skydomes for Games
The Sky is the Limit
What lies beyond the horizon? In today’s games, we often encounter breathtaking skies that leave us in awe, blurring the line between reality and virtual worlds.
Before fully simulated volumetric clouds, developers relied on simpler techniques to fill the upper half of the screen without sacrificing too much performance. These methods evolved from basic skyboxes to the more advanced animated skydomes used in the sixth and seventh console generation.

In this blog post, I’ll summarize the technique presented by Keith Guerrette for animating skies in Naughty Dog’s The Last of Us, and walk through the implementation of a shader example in GLSL.
Getting Things to Flow
The core idea behind animating a skydome is using a directional flowmap shader that samples an equirectangular texture twice and blends the results.
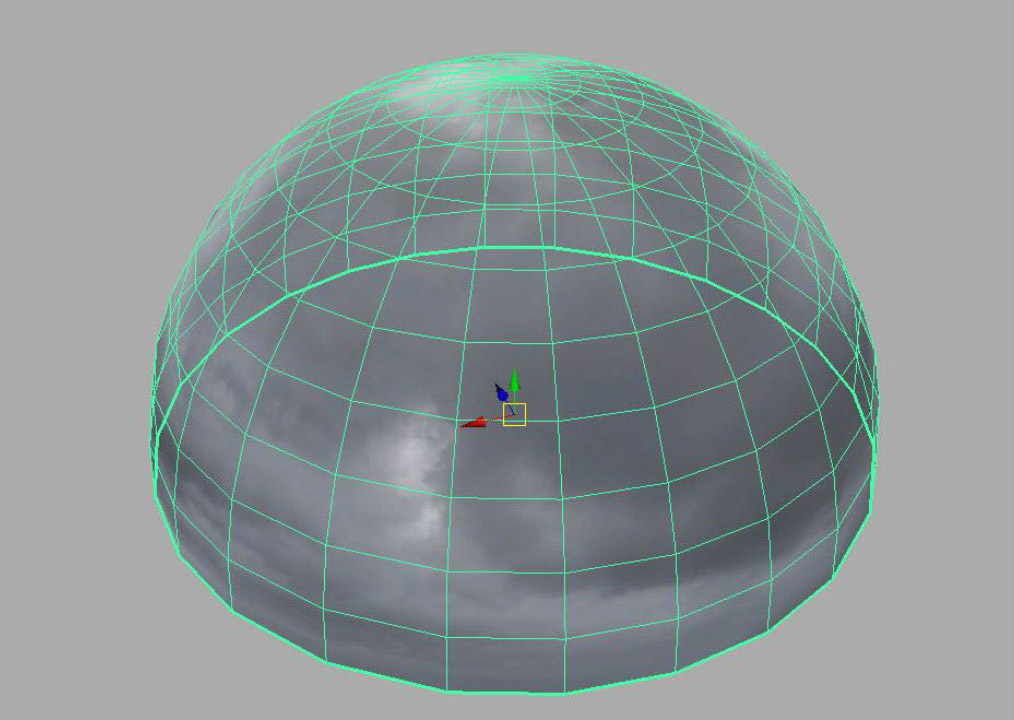
To achieve this, the skydome geometry needs to be unwrapped and projected onto the texture. Additionally, tangents should be exported from the DCC (Digital Content Creation) tool to calculate the UV positions based on the wind direction.
Shader Breakdown
Once the geometry and textures are prepared and loaded, we can dive into the shader code. The example provided here is written in GLSL, which can easily be adapted to common WebGL renderers. For simplicity, this implementation avoids any library-specific complexities.
Vertex Shader
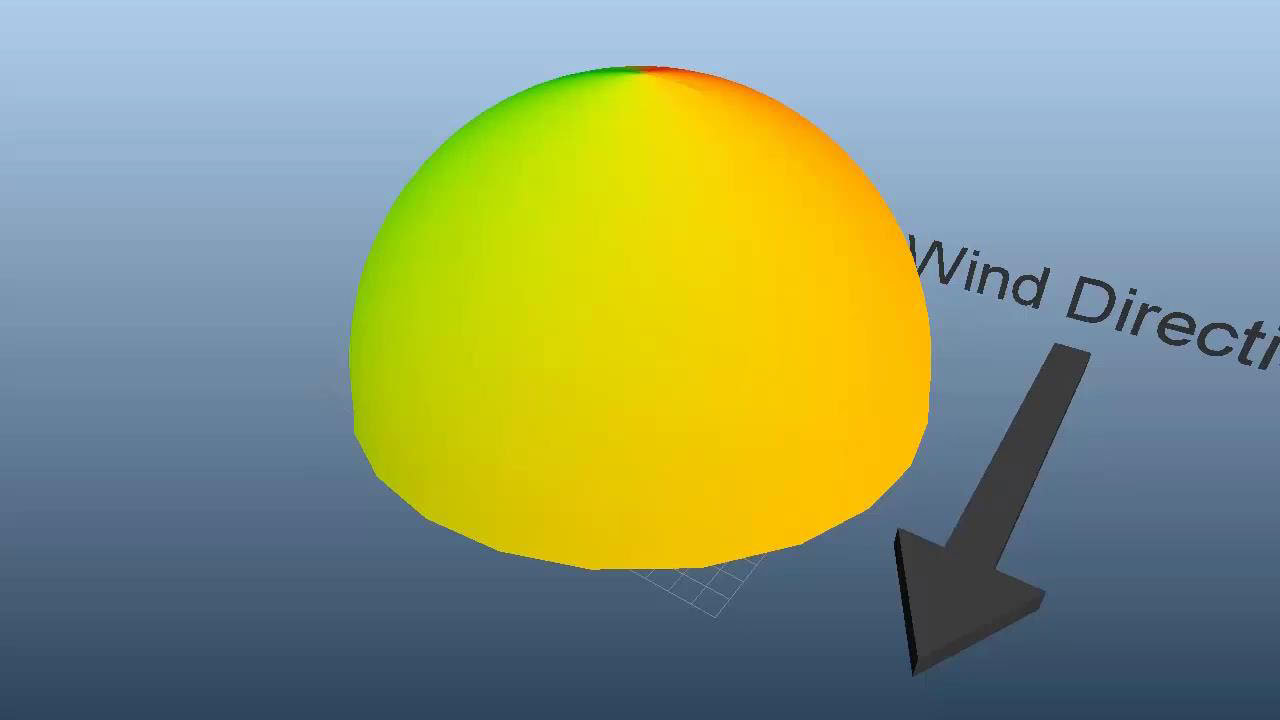
The vertex shader is quite standard. We calculate the final screen-space position. The key step here is to prepare the bitangent, which will be used later in the fragment shader to offset UVs according to the wind direction.
1 | vVertexBinormal = cross(aVertexNormal, aVertexTangent); |
Fragment Shader
In the fragment shader, the magic happens: we calculate the UV positions and blend the sampled textures.
1 | void main() { |
The fragment shader blends two texture samples by calling flowColor twice, each with a different offset (0.0 and 0.5). This creates the illusion of fluid movement in the sky.
1 | vec4 flowColor(vec2 flowVelocity, float offset) { |
- Flow color blending: The
flowColorfunction samples the texture at the calculated UV coordinates (uv.xy) and modulates its color intensity by multiplying with the opacity (uv.z).
1 | vec3 flowUv(vec2 flowVelocity, float offset) { |
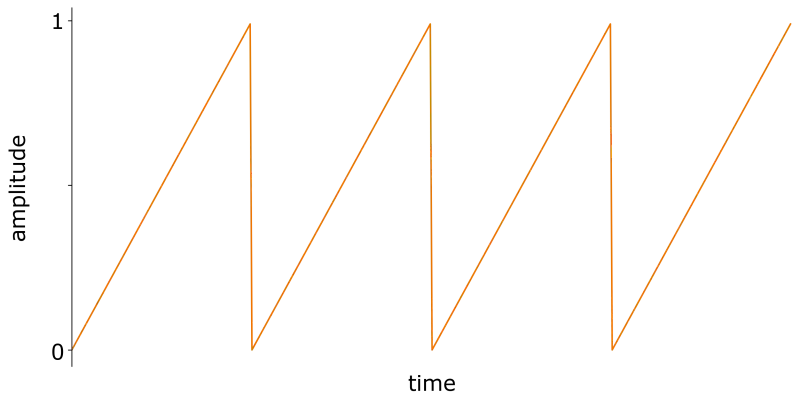
- Progress normalization: The
progressvariable maps time (uTime) to a repeating range of 0.0 to 1.0 by using the fract function creating a sawtooth pattern, effectively controlling the looping of the animation.
Opacity: The triangular waveform effect for opacity is calculated by inverting the normalized progress using
1.0 - abs(1.0 - 2.0 * progress). This creates a fade-in, fade-out effect.Flow UV:
flowUvdefines the velocity-driven UV displacement, moving the texture based on wind direction.Opacity in the z-component: The returned
vec3stores the final UVs inxandyand opacity in thezcomponent, which will be used for blending the textures later.
Conclusion
I hope this breakdown helps you implement your own version and move beyond static cubemaps, even in projects that require heavy optimization, such as web-based games. One of the benefits of this approach is the simplicity it offers to artists—rather than painstakingly preparing all six sides of a cubemap, they can now focus on painting a single texture that the engine will handle seamlessly.
Keep in mind that the texture and material setup play a critical role in how convincing the animated sky will appear. Fine-tuning the speed, strength and wind vector is essential for achieving natural-looking cloud motion.
You can explore the full source code and example geometry here:
Thank you for reading! I’d love to hear about your experiences and suggestions, so feel free to connect with me on social media.
— Eric
Connect with me: